Pool Renovation Checklist for Sandy Springs, GA Homeowners
A pool renovation checklist helps Sandy Springs homeowners inspect the shell, plumbing, equipment, finish, safety features, and permits before remodeling. You should confirm what needs repair and what needs replacement. Then you can focus on code-safe upgrades and plan around local weather and seasonal demand. That helps reduce change orders, avoid hidden damage, and keep your pool renovation on budget and on schedule.
What Should You Inspect Before Renovating Your Pool?
Pool renovation begins with a full inspection of the shell, coping, tile, plumbing, deck, and equipment so you can sort cosmetic updates from hidden repairs. In Sandy Springs, GA, this step matters because moisture, settling, and heavy seasonal use can expose leaks, cracks, and failing parts before the remodel starts.
Use this first pass to separate surface wear from real defects. A remodeling plan that starts with inspection is easier to budget, especially when local weather has already stressed concrete, tile joints, and plumbing lines. That is why a pre-renovation scope sheet is often the smartest way to organize the work before demolition begins.
Which Problems Should Move from Cosmetic to Repair First?
If these issues are present, a pool repair inspection list should come before any pool upgrade checklist. In this climate, moisture can turn a small defect into a bigger one during storm season, so it pays to fix the cause before you focus on looks.
What Are the Must-Do Steps in a Pool Renovation Checklist?
A pool renovation checklist should cover demolition, structural repairs, plumbing and electrical upgrades, surface refinishing, equipment replacement, and final safety improvements in a clear order. For Sandy Springs homeowners, that order helps avoid rework, cut delays, and reduce surprises from hidden damage.
Good sequencing matters because pool remodeling is easier to manage when each trade finishes before the next one begins. In a warm Georgia swimming season, efficient equipment and automation system upgrades also pay off longer because the pool runs more often. That makes the schedule, budget, and contractor coordination just as important as the finish choices.
What Permit and Code Issues Should Sandy Springs Homeowners Check?
Sandy Springs pool renovations should be checked for permit needs, safety barrier rules, electrical bonding, and drain protection before work begins. These items can affect the timeline and inspection results, so addressing them early helps homeowners avoid delays, failed inspections, and expensive redesigns during the remodel.
| Code or permit item | What to check | Why it matters |
|---|---|---|
| Permit | Confirm whether the renovation scope needs building, electrical, or plumbing review before work starts. | Permit timing can affect the timeline and inspection sequence. |
| Barrier code | Check fence height, gate latch function, and barrier openings around the pool deck. | Safety barriers often need to pass inspection before the pool can reopen. |
| Electrical bonding | Verify bonding for equipment, metal fixtures, and related parts before finishing work. | Electrical work is easier to fix before surface refinishing is complete. |
| Drain safety | Inspect drain covers and suction protection for current safety compliance. | Drain protection is a critical life-safety item and can block final approval. |
Local permit and inspection rules in the Atlanta area can matter even more when electrical work or safety barrier changes are part of the job. If the design touches the deck, equipment pad, or drain covers, the contractor should confirm requirements before demolition. That keeps the project moving and lowers the chance of redesign after materials are already ordered.
Which Upgrades Deliver the Best Value During a Remodel?
The best-value pool renovation upgrades are energy-efficient equipment, LED lighting, automation, updated tile, and durable finishes that cut maintenance and improve daily use. In Sandy Springs, GA, these upgrades are especially useful because long warm seasons increase runtime, so efficiency and durability have a bigger payoff.
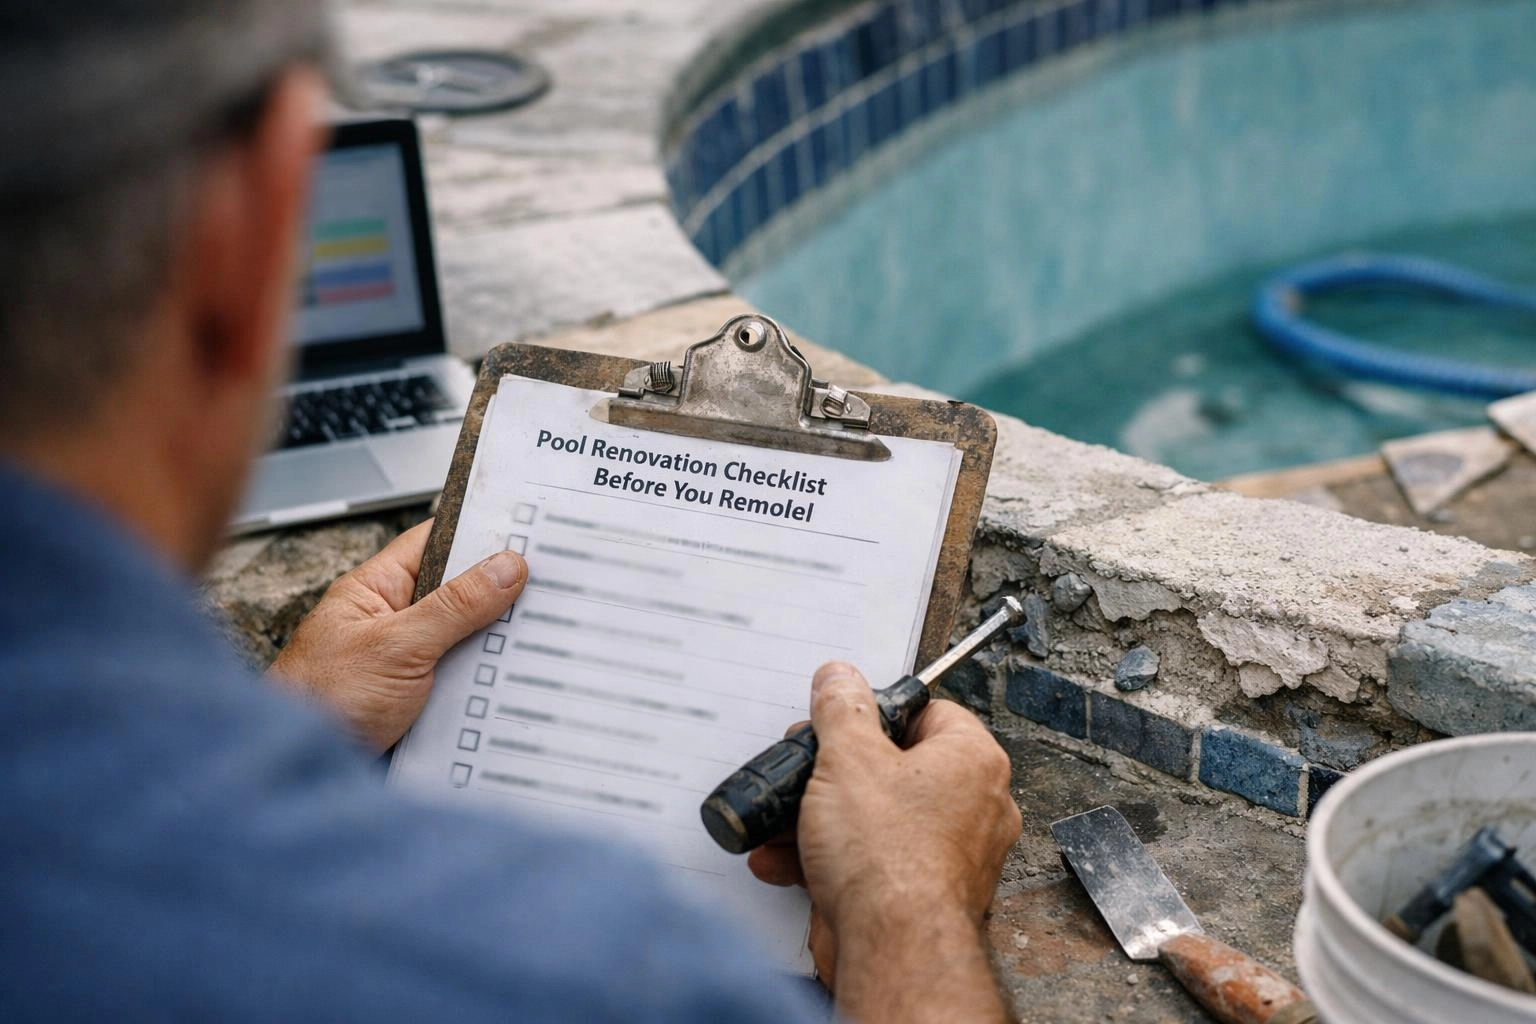
These upgrades are popular in pool remodeling because they affect comfort, use, and operating costs at the same time. If you are comparing finish options, use the renovation plan to rank what improves the pool most, not just what looks new on day one.
What Should Your Before, During, and After Checklist Include?
Your pool renovation checklist should be split into before, during, and after phases so every task is handled in the right order. Before work, confirm scope and budget. During work, track demolition, repairs, and inspections. After work, manage startup, water balancing, and final walkthrough items to protect the finished pool.
Before Construction
During Construction Phase
After Completion
Many homeowners treat the after phase as final cleanup, but it is really part of the build. Proper startup and balanced chemistry protect pool resurfacing, while a careful walkthrough catches small issues before they become return visits. That final step is especially useful after humid weather or storm delays, when finishing work can change fast.
What Red Flags Mean Your Pool Needs More Than Resurfacing?
A pool needs more than resurfacing when you see recurring leaks, structural cracks, corroded equipment, failing drain covers, or widespread surface damage. In Sandy Springs, these red flags often point to deeper renovation work that should be handled before cosmetic finishes go in, or the same problems can return fast.
When these issues show up, the project often shifts from simple pool resurfacing to a broader renovation plan. A clear inspection helps you decide whether to keep the scope narrow or expand it before the contractor starts the next phase.
Frequently Asked Questions
Next step: Use this checklist to compare your current pool condition, set a realistic scope, and line up the right contractor, permit, and inspection sequence before work begins.
Request your pool renovation consultation
If you want help turning a pool renovation plan into a workable project in Sandy Springs, contact a local specialist who can review the shell, equipment, and permit path before demolition starts.