Pool Renovation Process for Sandy Springs, GA Homes
The pool renovation process in Sandy Springs, GA starts with an on-site inspection. Then comes design planning, demolition, structural repairs, surface upgrades, equipment replacement, finish selection, and final startup. Homeowners use it to restore safety, improve looks, add modern features, and extend pool life. A qualified local contractor handles permits, material choices, and weather-aware scheduling, so the job finishes smoothly and the pool works well.
What Is the Pool Renovation Process in Sandy Springs, GA?
Pool renovation process is the step-by-step work used to restore, upgrade, and modernize an existing swimming pool. In Sandy Springs, GA, it usually includes inspection, design decisions, repairs, resurfacing, equipment updates, and final startup. All of it is planned around local conditions, codes, and homeowner goals.
This type of pool remodeling is more than a cosmetic refresh. A well-run project checks the pool shell, reviews plumbing and the filtration system, and confirms whether coping, tile, decking, or safety features need work. In older neighborhoods, hidden wear often shows up once old finishes come off, so a careful renovation workflow helps avoid surprises.
In Sandy Springs, GA, the best plan also considers suburban lot access, noise sensitivity, and homeowner preferences for outdoor living. Metro Atlanta humidity and heavy summer use can wear down finishes faster. Many owners schedule projects in spring to reduce weather delays and help curing. That local timing can make a big difference in quality and ease.
Pool Renovation Companies: How to Choose the Best One
Pool renovation companies should be judged by licensing, pool-specific experience, clear scopes, and proven results on similar home improvement projects. The best pool renovation company gives honest guidance, explains tradeoffs, and manages permits, subcontractors, and material choices without making the homeowner guess. It should also understand pool renovation contractors and how they coordinate each trade.
For older pools, especially in established neighborhoods, partial repairs can uncover age-related issues in plumbing or the filtration system. That is why experienced pool renovation companies often recommend a wider inspection before work begins. If you want a local team that understands suburban access, neighborhood expectations, and finish options, start with and ask for a detailed scope.
The Step-by-Step Pool Renovation Process
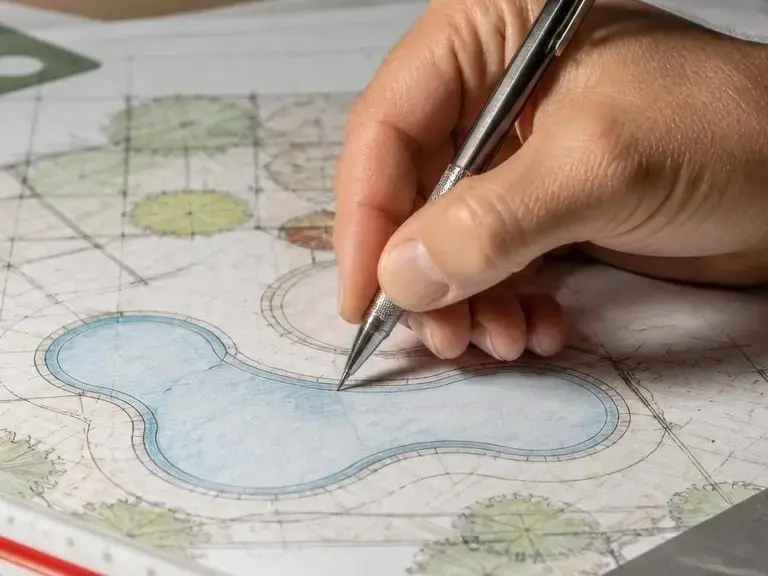
The pool renovation process follows a clear sequence: inspect the pool, define the design, drain and demo old materials, repair the shell and plumbing, install new finishes and equipment, then refill, balance, and start up the system. Each step protects the structure, cuts down on rework, and helps the final result perform the right way.
In Sandy Springs, GA, the order matters because seasonal rain and temperature swings in North Georgia can affect curing, startup timing, and finish selection. A skilled pool contractor times the work around weather and coordinates each trade, so the project stays on track. That approach helps most when older pools need finish, plumbing, and equipment updates at the same time.
How Long Does a Pool Renovation Take?
Most projects fall into a few common timeline ranges. Small jobs move faster when they focus on one or two upgrades. Large renovations take longer because structural repair, resurfacing, and equipment replacement must happen in order. Weather, material lead times, and permit coordination can also shift the schedule.
| Project Size | Typical Duration | Common Scope |
|---|---|---|
| Small | About 1 to 2 weeks | Tile touchups, minor coping work, simple equipment replacement, or limited surface refinishing |
| Average | About 2 to 4 weeks | Resurfacing, tile and coping updates, lighting, and some plumbing or filtration system repairs |
| Large | About 4 to 8+ weeks | Full structural repair, major design changes, decking changes, automation controls, and multiple equipment upgrades |
Pool Renovation Ideas That Improve Appearance and Performance
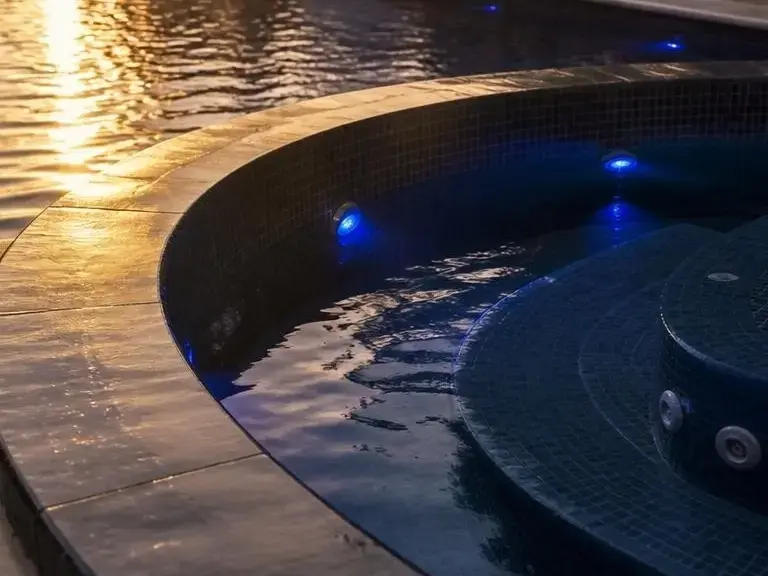
Pool renovation ideas should improve both style and function, not just update one visible detail. In Sandy Springs, GA, the best upgrades often combine pool lighting, tile and coping changes, and energy-efficient equipment. That mix helps the pool look fresh and cost less to run. Smart choices can also make maintenance easier.
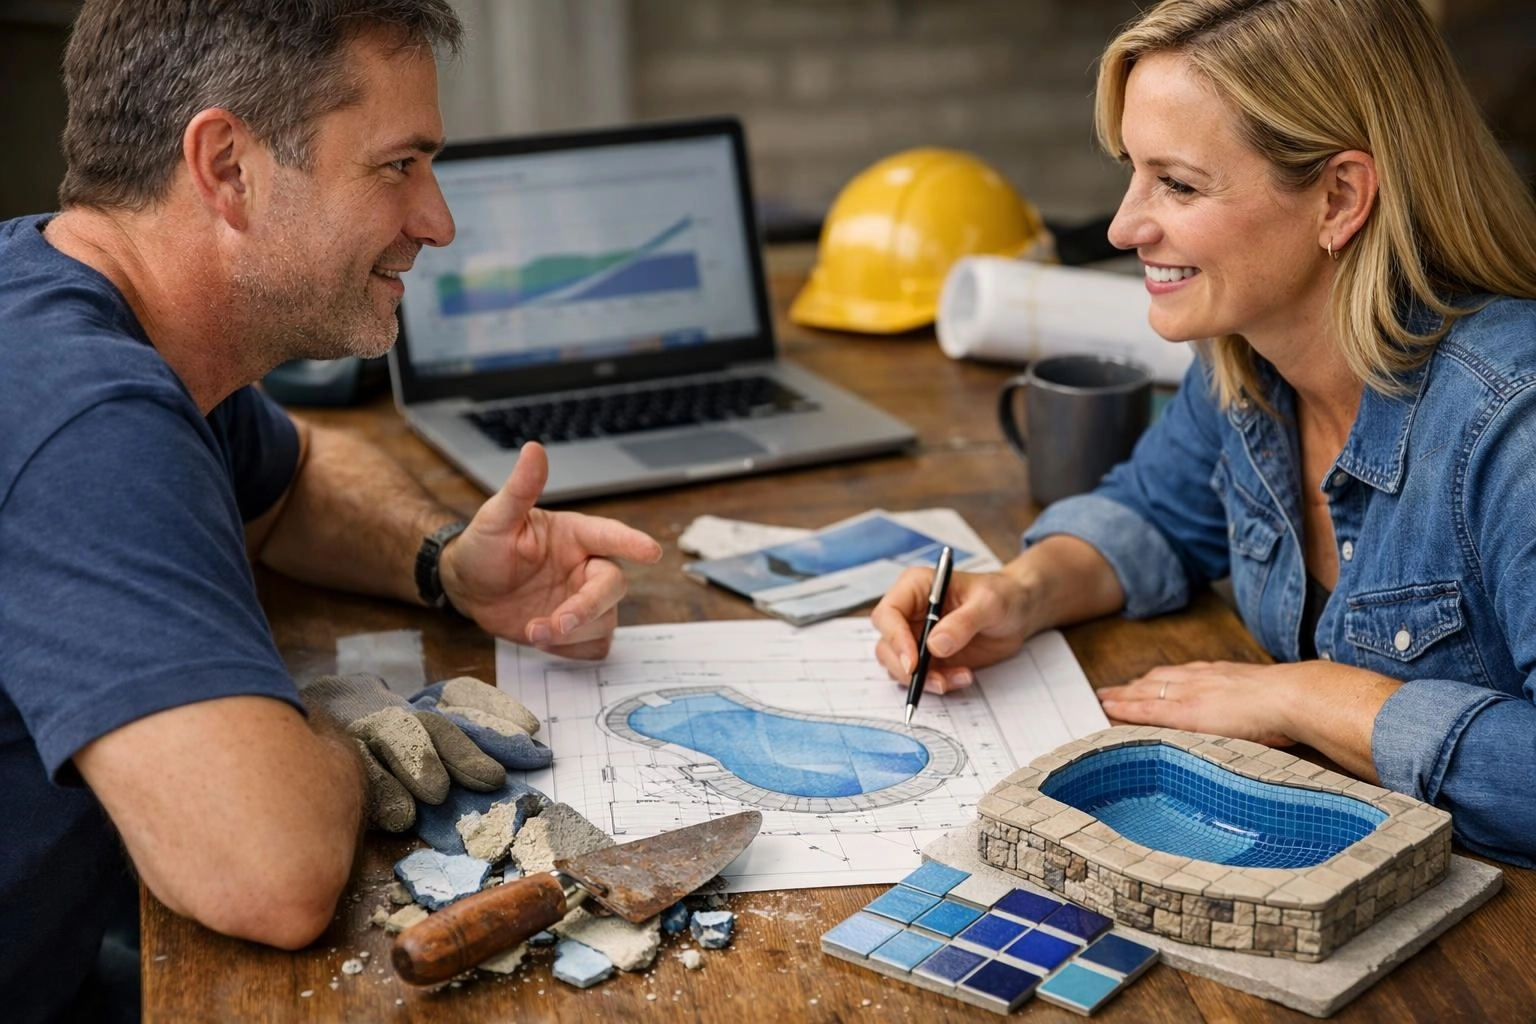
Homeowners often get the best value by pairing a visible upgrade with a behind-the-scenes improvement. For example, a new plaster finish may look great, But combining it with a stronger pump, updated filter, and smarter automation controls usually gives better long-term performance. A good contractor can help compare samples and match the design to the house.
Pool Renovation Before and After: What Changes the Most
Pool renovation before and after results are most dramatic when an outdated finish, worn coping, faded tile, or inefficient equipment is replaced. Before photos often show discoloration, cracking, or dated style. After photos highlight cleaner lines, brighter surfaces, better lighting, and a more useful outdoor space.
The biggest visual shift usually comes from the surface finish and the deck edge. When old plaster is removed and resurfacing is completed, the water color and texture can look very different. If the coping is rebuilt and the decking is refreshed, the whole yard feels newer, even if the pool shape stays the same. That is why many homeowners use before-and-after photos to judge value.
In older Sandy Springs neighborhoods, an outdated pool design may hide under aging trim, dark tile, or weak lighting. Once those pieces are replaced, the renovation often looks more open, more modern, and easier to maintain. The change is especially clear when the project also fixes plumbing or equipment issues that hurt water clarity or circulation.
Pool Renovation Pictures and Design Inspiration
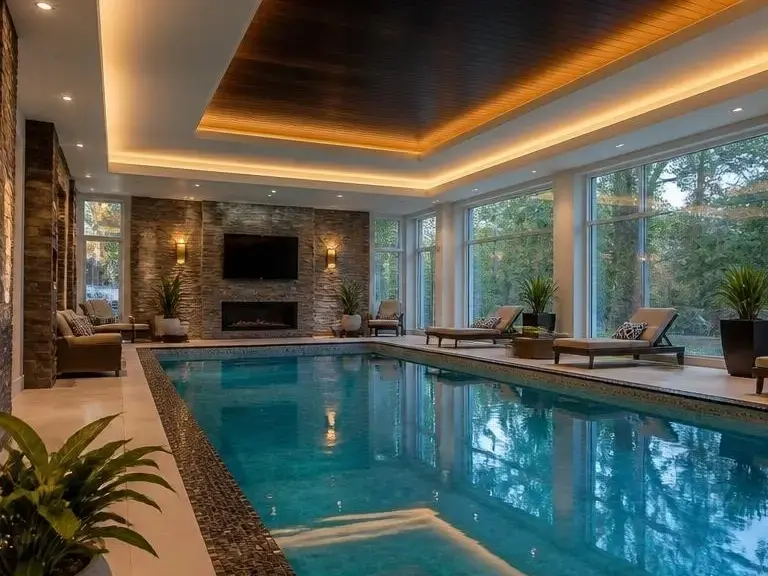
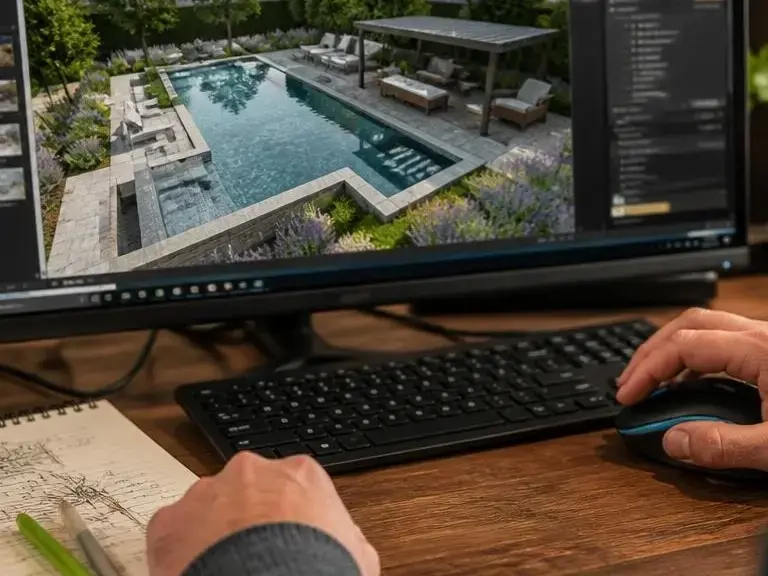
Pool renovation pictures help homeowners compare finishes, colors, coping styles, tile patterns, lighting effects, and deck layouts before committing to a design. Good inspiration galleries show both close-up detail and full before-and-after views, so you can picture how each upgrade changes the pool and surrounding space.
When you review pictures, look for projects similar to your home’s age and layout. A gallery from a suburban lot can help you picture access, staging, and finish choices that fit your space. If you can, ask the contractor to share a few material samples, so you can see how sunlight, shade, and water affect the final look in person.
Frequently Asked Questions
Before-and-after photos and a clear scope help you compare options and avoid surprises. If you are ready to plan a pool remodel, can help you review finishes, compare hyponyms like resurfacing, tile replacement, and coping replacement, and choose the right path for your home improvement project.
For homeowners who want a smarter pool upgrade, the best results usually come from balancing appearance, structural repair, and long-term maintenance. A careful renovation can improve energy efficiency, simplify upkeep, and turn the pool into a better part of everyday outdoor living.
Related Resources
Pool Renovation Checklist Before You Remodel
pool renovation checklist
What Goes With ItPool Renovation and Remodeling
Everything About ItPool Renovation and Pool Remodeling: Complete Guide
pool renovation and remodeling
What It CostsPool renovation cost in Sandy Springs, GA
pool renovation cost