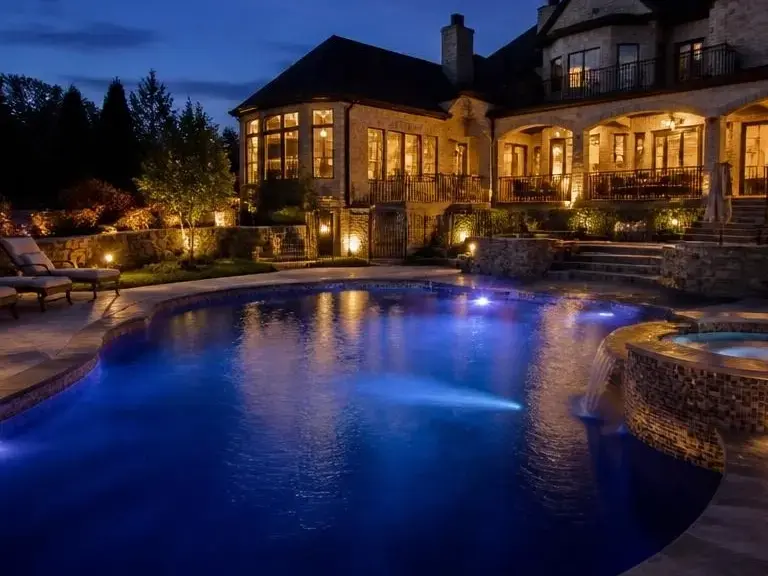
Pool Construction Preparation Checklist for Sandy Springs, GA
Use a pool construction checklist to get your yard, budget, permits, utilities, and design choices ready before digging starts. In Sandy Springs, GA, a strong checklist confirms setback rules, drainage and grading, utility marking, equipment access, and HOA or neighborhood approvals before work begins. It should also cover the build timeline, inspection points, and the final walkthrough, so you can avoid delays, change orders, and costly rework.
A pool construction preparation checklist helps homeowners plan an inground pool build in Sandy Springs, GA by organizing scope, budget, site conditions, permits, and approvals before any digging starts.
Use it as a practical pool build checklist so you can compare the yard layout, confirm the construction timeline, and avoid last-minute changes that can slow the project. This kind of home improvement planning helps when drainage grading, utility locate work, and inspection schedule details need to be lined up early.
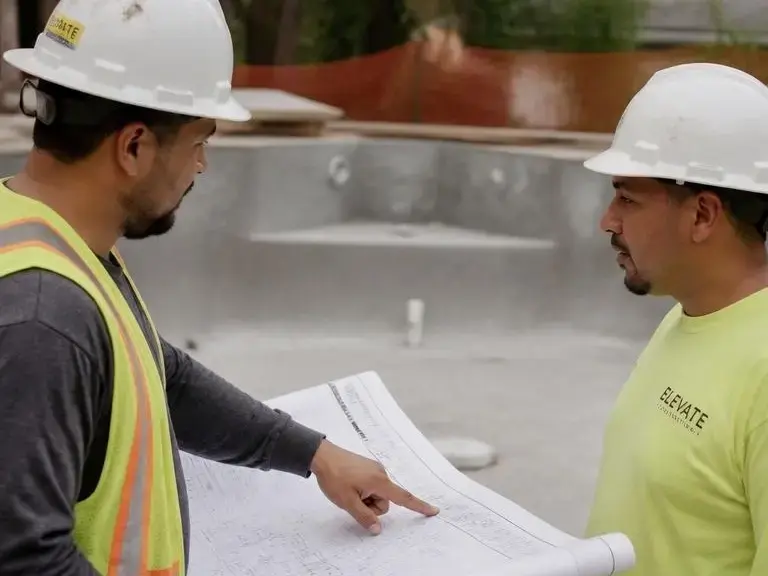
For local projects, Sandy Springs permitting and inspection process steps can affect start dates, so the best pre-construction checklist also includes neighborhood review, permit packet review, and a quick look at access for trucks and machinery.
What Should Be on a Pool Construction Checklist Before Work Starts?
A pool construction checklist before work starts should confirm scope, budget, site conditions, permits, utilities, and approvals. It should verify how the pool will fit the yard, how access will work for equipment, and what inspections or documents are needed so the project can start without delays or redesigns.
Before excavation begins, the homeowner should also confirm whether the equipment pad will sit in a serviceable spot, whether fence access is wide enough for crews, and whether the inspection schedule matches the construction timeline. A good pool permit checklist helps avoid missed steps, and it is especially useful for a pool permit checklist in a neighborhood with review rules.
Before Construction Begins: The Must-Complete Planning Steps
Before construction begins, the must-complete planning steps are design selection, material choices, drainage planning, setback verification, and scheduling. These decisions shape the whole outdoor construction project and reduce surprises once the crew arrives.
These early steps work best when the homeowner and builder agree on the inground pool prep list before any mobilization happens. That way, the pre-construction checklist becomes a clear roadmap instead of a loose idea.
How Do You Prepare Your Yard for Pool Installation?
You prepare your yard for pool installation by clearing the work area, confirming access for machines, protecting landscaping, and checking grading and drainage. The property should allow excavation equipment to enter safely, with utilities marked and any trees, hardscape, or structures identified before digging begins.
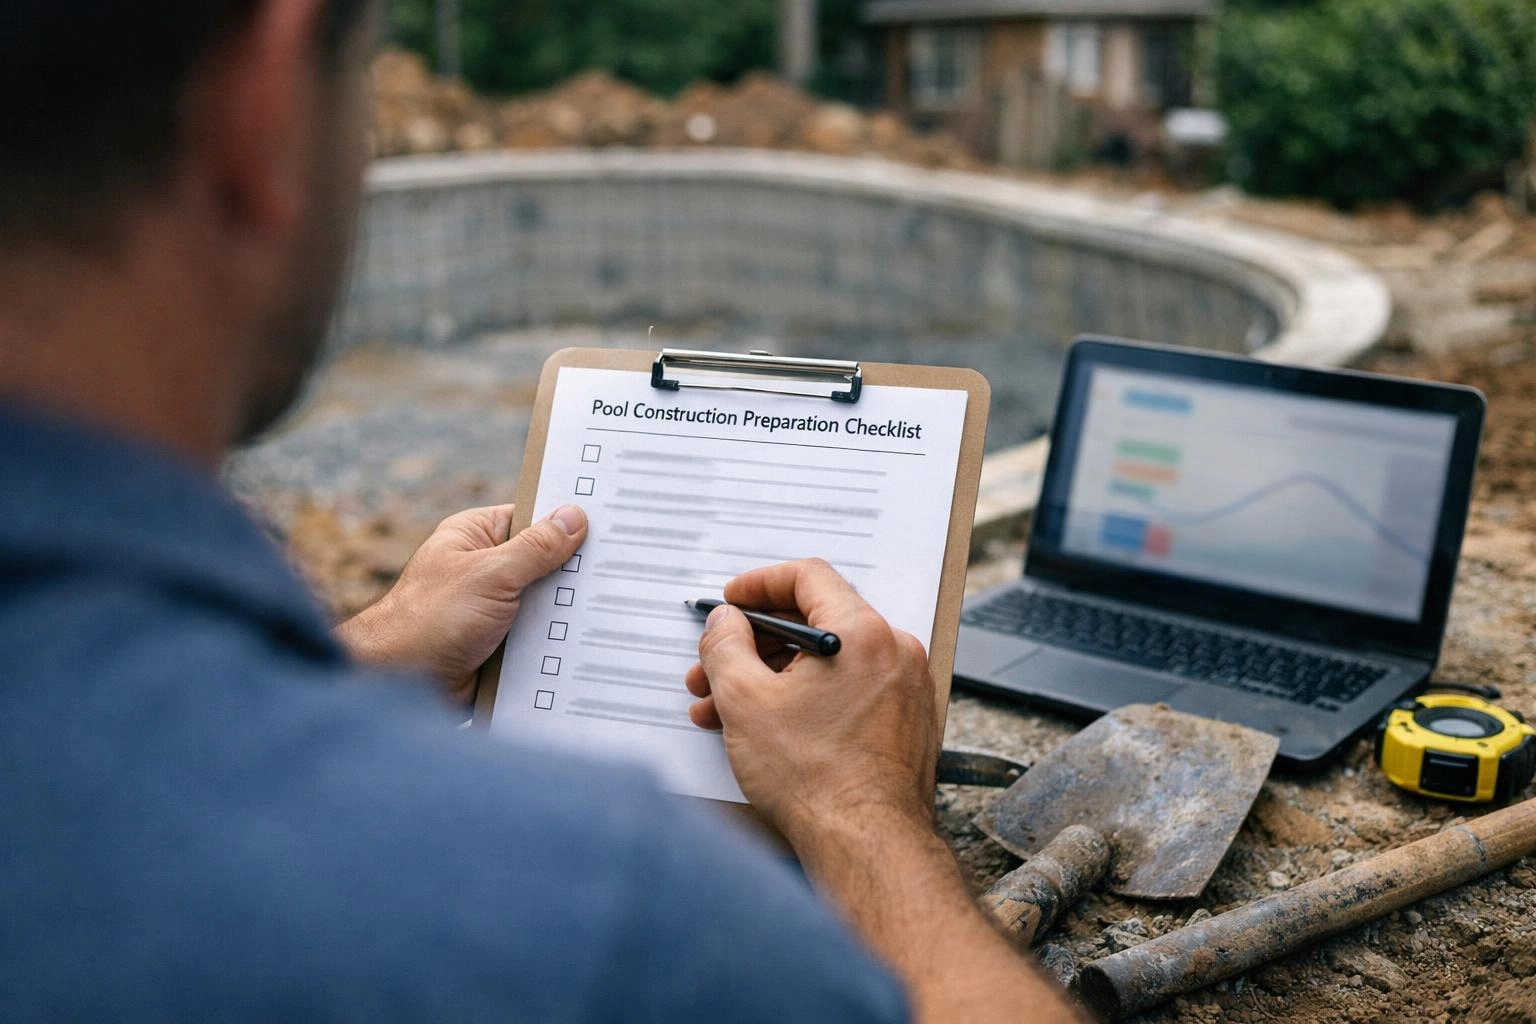
In Sandy Springs, site grading and drainage planning matters even more because runoff can affect both excavation and the long-term performance of the deck and yard. A thoughtful site prep phase also makes room for pool installation crews to work without repeated rehandling of material.
During Excavation and Layout: What Homeowners Need to Watch
During excavation and layout, homeowners should watch the excavation layout, soil conditions, utility marking, inspection timing, and any change orders that arise from what the crew finds underground. This is the point where small surprises can affect the plan.
Excavation access is often the make-or-break issue on a residential build, so the homeowner should stay alert if the crew needs a different entry point or a revised staging area. Careful communication here keeps the project aligned with the construction timeline and limits avoidable rework.
What Red Flags Can Delay a Pool Construction Project?
Pool construction delays usually come from missing permits, unmarked utilities, drainage problems, and tight equipment access. If the site has uncertain boundaries, hidden easements, clay-heavy soil, or conflicts with HOA rules, the project can stop before excavation or require costly changes after work begins.
Other warning signs include HOA approval still pending, a weak site survey, or an unclear construction schedule. Catching these issues early keeps the outdoor construction plan realistic and helps the project move forward with fewer surprises.
What Should Be Checked After the Pool Shell and Finish Are Installed?
After the pool shell and finish are installed, the checklist should confirm plumbing pressure tests, electrical safety, equipment startup, water balancing, and finish inspection. It should also verify coping, decking transitions, and drainage so the completed pool is safe, functional, and ready for use.
This phase is about safety and performance, not just appearance. The pool shell may look complete, but the plumbing test, electrical inspection, and equipment pad setup must work together before the project can truly be considered finished.
After Construction: The Final Walkthrough and Handoff
The final walkthrough and handoff should cover owner training, warranty documents, maintenance plan details, and as-built records so the homeowner knows how to care for the pool from day one.
A clear handoff closes the loop on the home improvement planning process and gives the owner a reliable record for future service or upgrades.
Frequently Asked Questions
Related Resources
Concrete Pool Construction
Everything About ItPool Builder vs Custom Pool Builder: What’s the Difference?
pool builder vs custom pool builder
Everything About ItInground Pool Builder: Everything You Need to Know
inground pool builder
What It CostsPool building cost in Sandy Springs, GA
pool building cost