Pool Renovation Checklist Before You Remodel in Sandy Springs, GA
Use a pool renovation checklist to inspect the shell, plumbing, tile, coping, deck, equipment, lighting, and safety features before you remodel. In Sandy Springs, GA, you should also account for seasonal weather, drainage, and local permitting needs so the project stays on schedule and avoids costly rework. A good checklist helps you define repairs, upgrades, budget priorities, and construction timing before work starts.
Pool renovation checklist helps homeowners plan a pool remodel, repair scope, and budget before construction. A smart plan starts with the pool shell, surface condition, plumbing leaks, and the surrounding deck, so you can separate simple updates from hidden structural issues. In Sandy Springs, GA, that first inspection matters even more because local permitting, drainage, and sloped lots can change the order of work. It also helps you decide whether pool repair, pool resurfacing, or a larger pool remodeling project makes the most sense.
What Should You Check Before a Pool Renovation?
Pool renovation starts with a full inspection of the pool shell, plumbing, surface, and surrounding deck, so you can separate cosmetic upgrades from structural repairs. This step helps you identify hidden damage, define the remodel scope, and avoid opening the project without a clear plan. In Sandy Springs, GA, that means looking closely for cracks, leaks, and drainage issues before any pool upgrade begins.
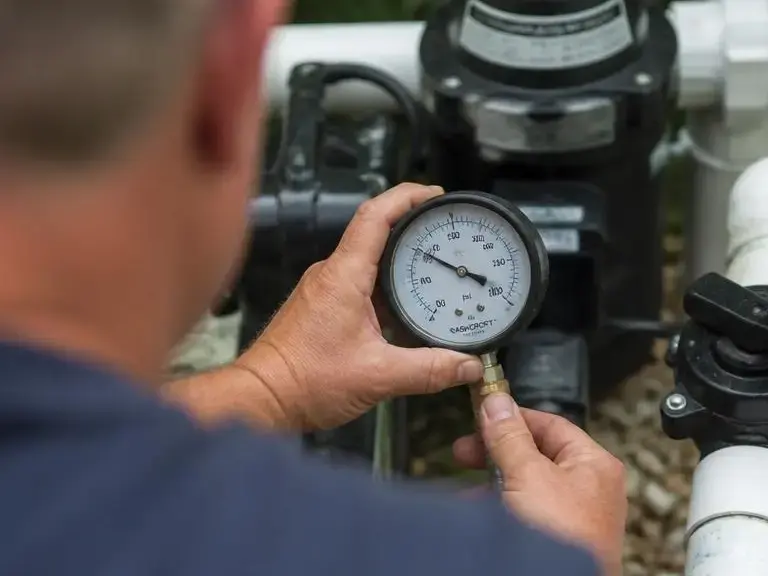
Walk the entire area and note any soft spots in the decking, stained waterline tile, or movement around coping and expansion joints. Check the filtration system, pump system, lights, drain covers, and controls for age, corrosion, or poor operation. If the finish is rough or delaminating, the surface may need pool resurfacing instead of a simple patch. A careful review also tells you whether the work is closer to home improvement or a full outdoor living project.
Start with the shell, because that is where major structural problems hide. Hairline cracks may be normal in some cases, but larger cracks, water loss, or shifting around the shell edge often point to deeper issues. Look for plumbing leaks near skimmers, returns, and equipment pads, and compare the water level over several days. These checks help you sort out pool repair needs before you commit to decorative changes.
Use This Before-You-Build Checklist
Pool renovation should begin with a before-you-build checklist that confirms your goals, documents current conditions, and sets the remodel order. Homeowners should review structure, plumbing, equipment, finishes, and code-related needs before signing a contract, so the project budget and schedule are realistic. This makes it easier to balance pool remodeling wishes with repair priorities.
Good planning also helps you compare bids on equal terms. One contractor may include surface prep, deck repair, and equipment upgrades, while another may quote only cosmetic work. Ask for itemized pricing so you can see where the money goes and avoid surprise change orders. If your pool upgrade includes a warranty, get the terms in writing before construction begins.
What Are the Biggest Red Flags During Pool Inspection?
Pool renovation red flags include cracking, active leaks, shifting decking, failing equipment, and stained or delaminating finishes. If you see these warning signs, the project may need repair work before cosmetic remodeling begins, because hidden damage can increase cost and delay completion. These are the issues that most often turn a simple refresh into a larger outdoor living project.
What Should Be Replaced During the Remodel?
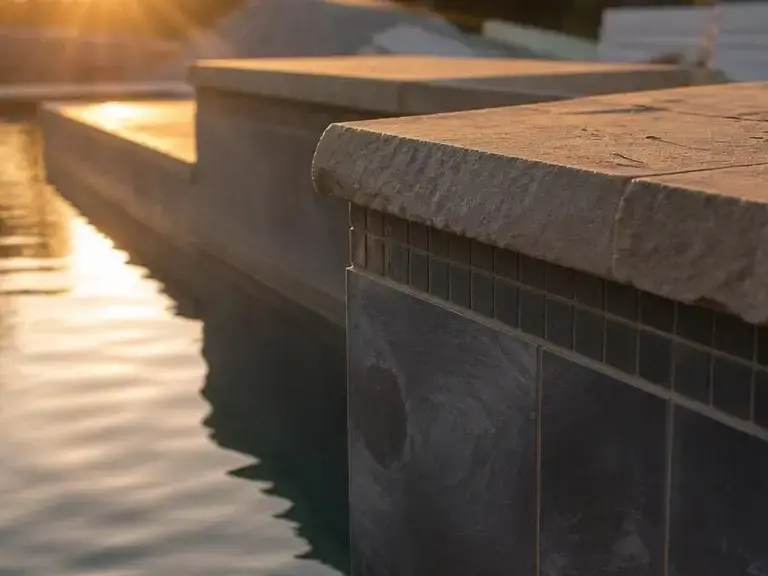
Pool remodel priorities usually include worn tile, damaged coping, cracked decking, aging pumps, weak filters, and outdated lighting. Replacing these components during renovation can improve safety, performance, and appearance at the same time, especially when existing parts are already near the end of their service life. The best time to replace them is usually before final finishes go in.
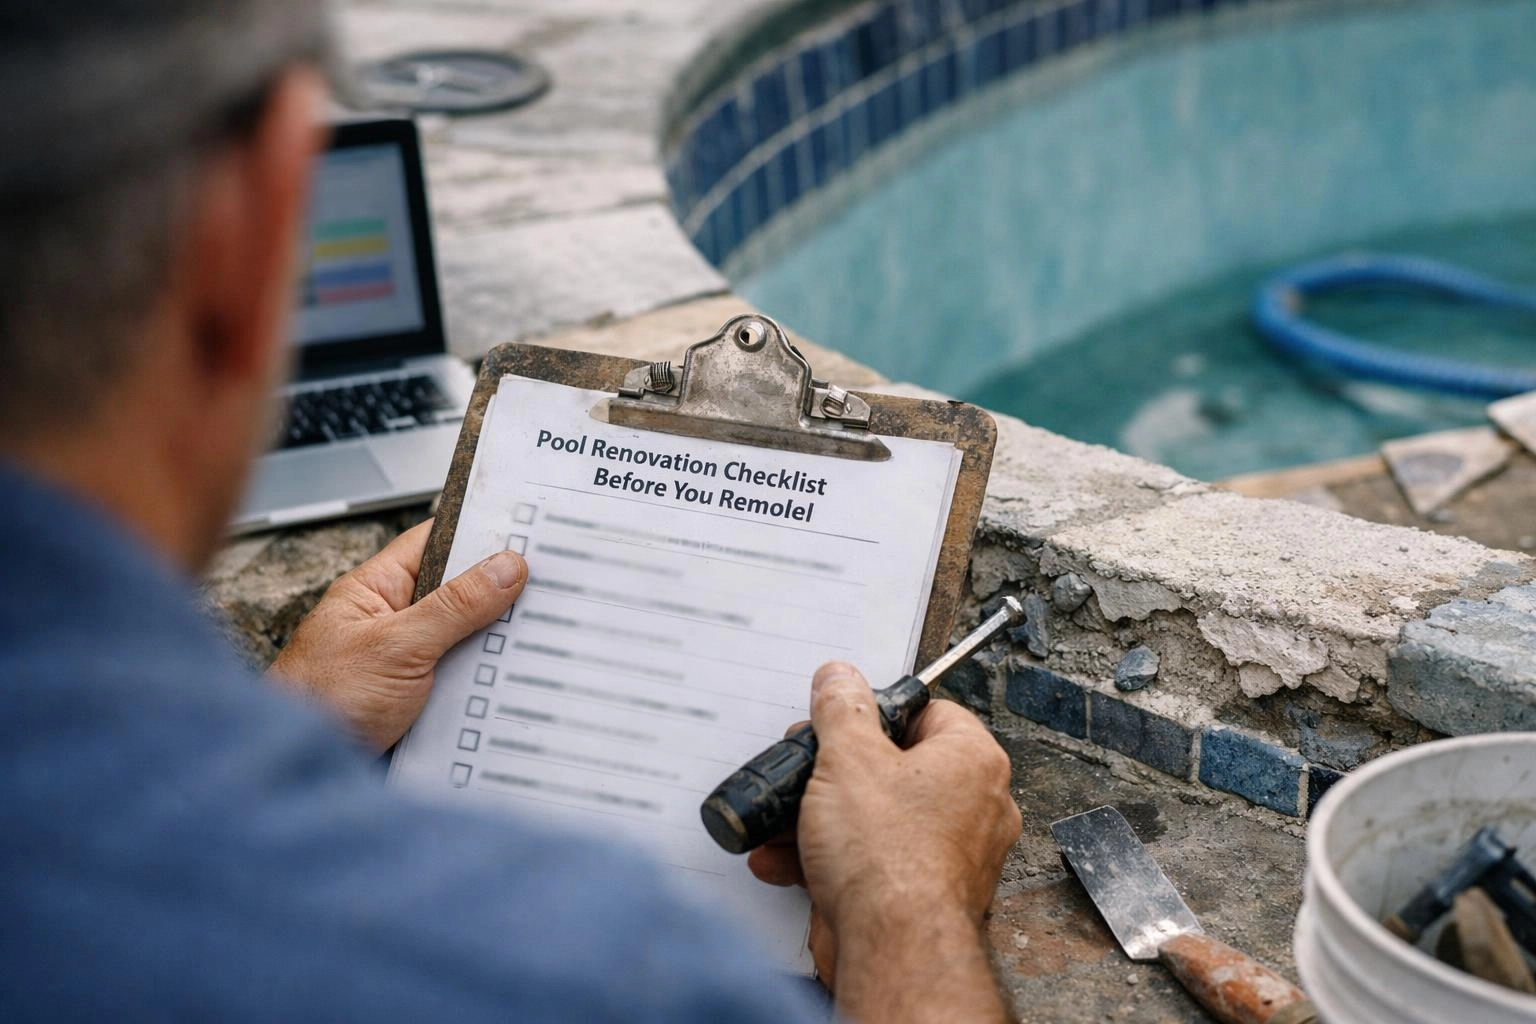
Many homeowners combine replacement work to save time and reduce disruption. For example, coping replacement often pairs well with waterline tile and deck repair, while equipment upgrades can happen alongside plumbing updates. If the filtration system is near failure, replacing it during the remodel is usually smarter than waiting for a mid-season breakdown. That approach also reduces the chance of rework after the finish is complete.
How Do Sandy Springs Rules and Weather Affect Your Renovation?
Sandy Springs pool renovation should account for local permitting, drainage, and weather patterns that can affect excavation, curing, and scheduling. Seasonal rain and temperature swings can expose leaks or delay surface work, so homeowners should plan the remodel around conditions that protect quality and reduce rework. Local permits may also change the order of pool repair, electrical work, and finish installation.
Storm patterns in the area can interrupt excavation and finish curing, so weather-aware scheduling is important. If rain fills the site or keeps the base from drying, deck repair and surface prep may need to pause until conditions improve. Freeze-thaw cycles can also affect new materials if the work is done too late in the season, especially around coping, tile, and fresh coatings. That is why many remodelers build extra time into the schedule rather than forcing a tight deadline.
Drainage is another major factor, especially on sloped lots where water can move toward the shell, coping, or decking. Poor drainage can reveal movement around the pool edge or create new soft spots after excavation. Permitting and inspection coordination can also affect timelines when structural, plumbing, or electrical changes are part of the job. A careful plan keeps the project aligned with local rules and helps protect the long-term results of the outdoor living project.
What to Ask Your Pool Renovation Contractor?
A pool renovation contractor should provide a clear scope, material list, timeline, warranty terms, and repair-versus-replace recommendations. Asking the right questions helps you compare bids accurately and choose a contractor who can manage both cosmetic upgrades and hidden structural issues. It also helps you understand whether the job is mainly pool remodeling or a mix of pool repair and finishing work.
The right contractor should explain tradeoffs clearly and not rush you into decisions. If a bid is vague, it may hide missing work or leave out needed repair steps. A strong proposal makes it easier to move from planning to construction with confidence.
Before, During, and After the Remodel
Before, during, and after planning keeps pool renovation organized and helps homeowners avoid missed steps. Use this checklist to track the work from the first inspection through final closeout, so your pool upgrade stays on schedule and the finished result matches your goals.